
Quick start
- UploadUpload the
simorafolder and point your domain at itspublic/folder. - InstallOpen your domain and follow the 3-step web installer.
- CronAdd one cron job that runs every minute.
- ConnectAdd your Airalo, Stripe / PayPal and email details in Admin → Settings.
- Sync & sellRun the catalog sync, check prices, place a test order, go live.
Preview
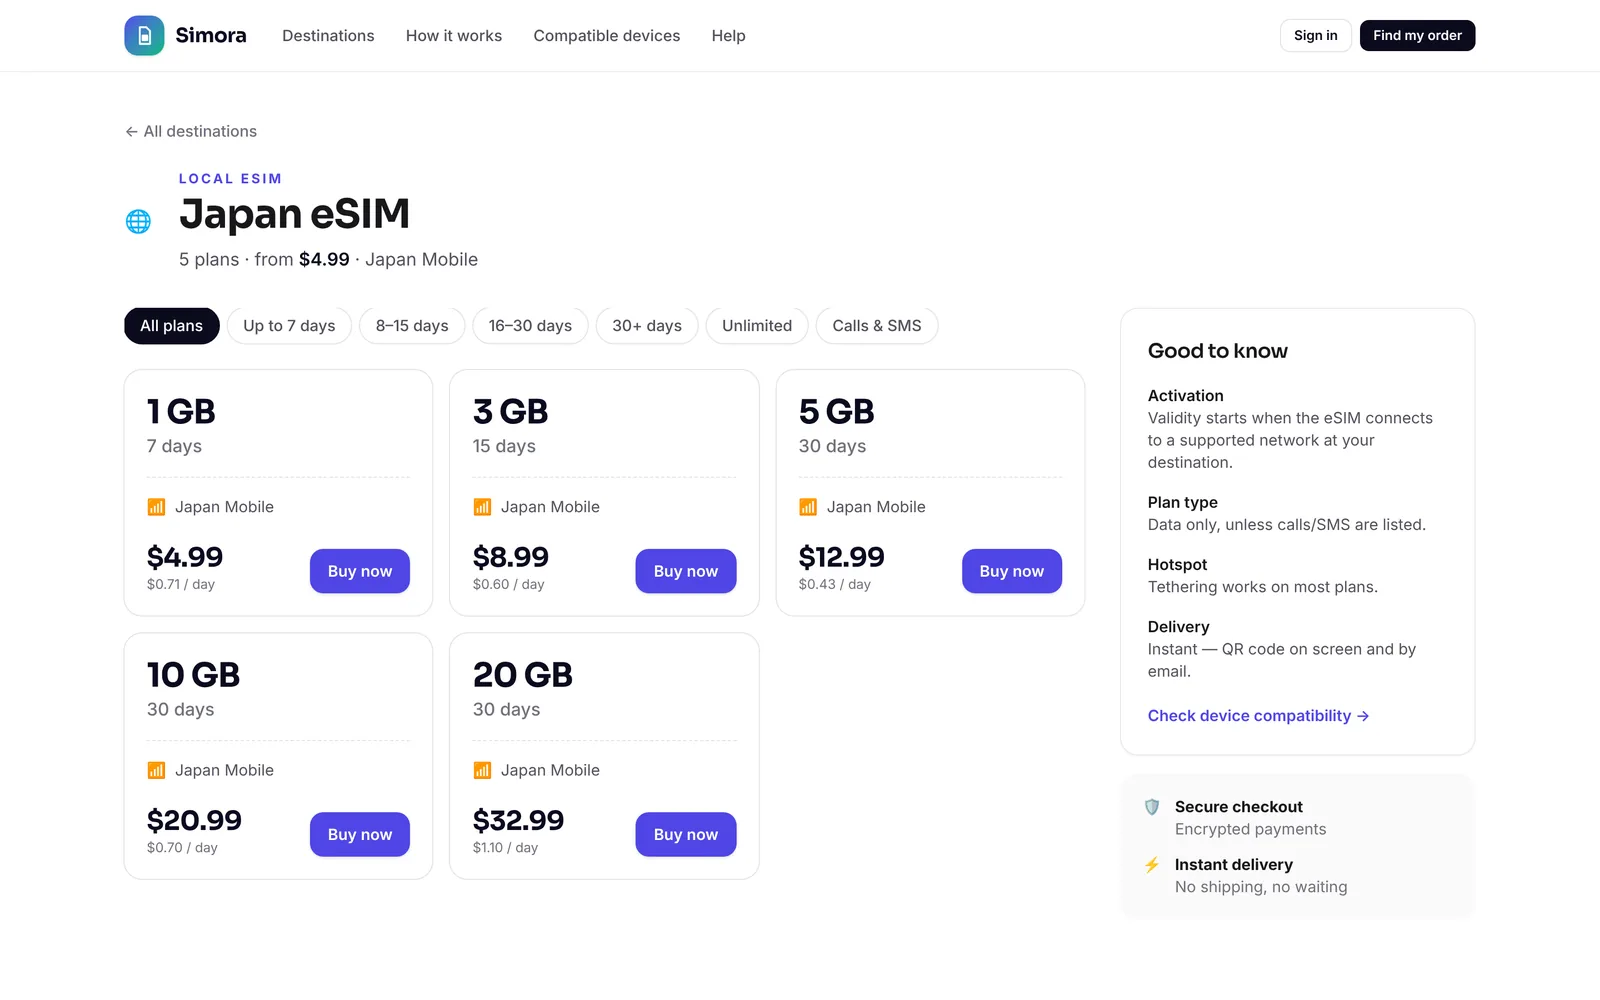
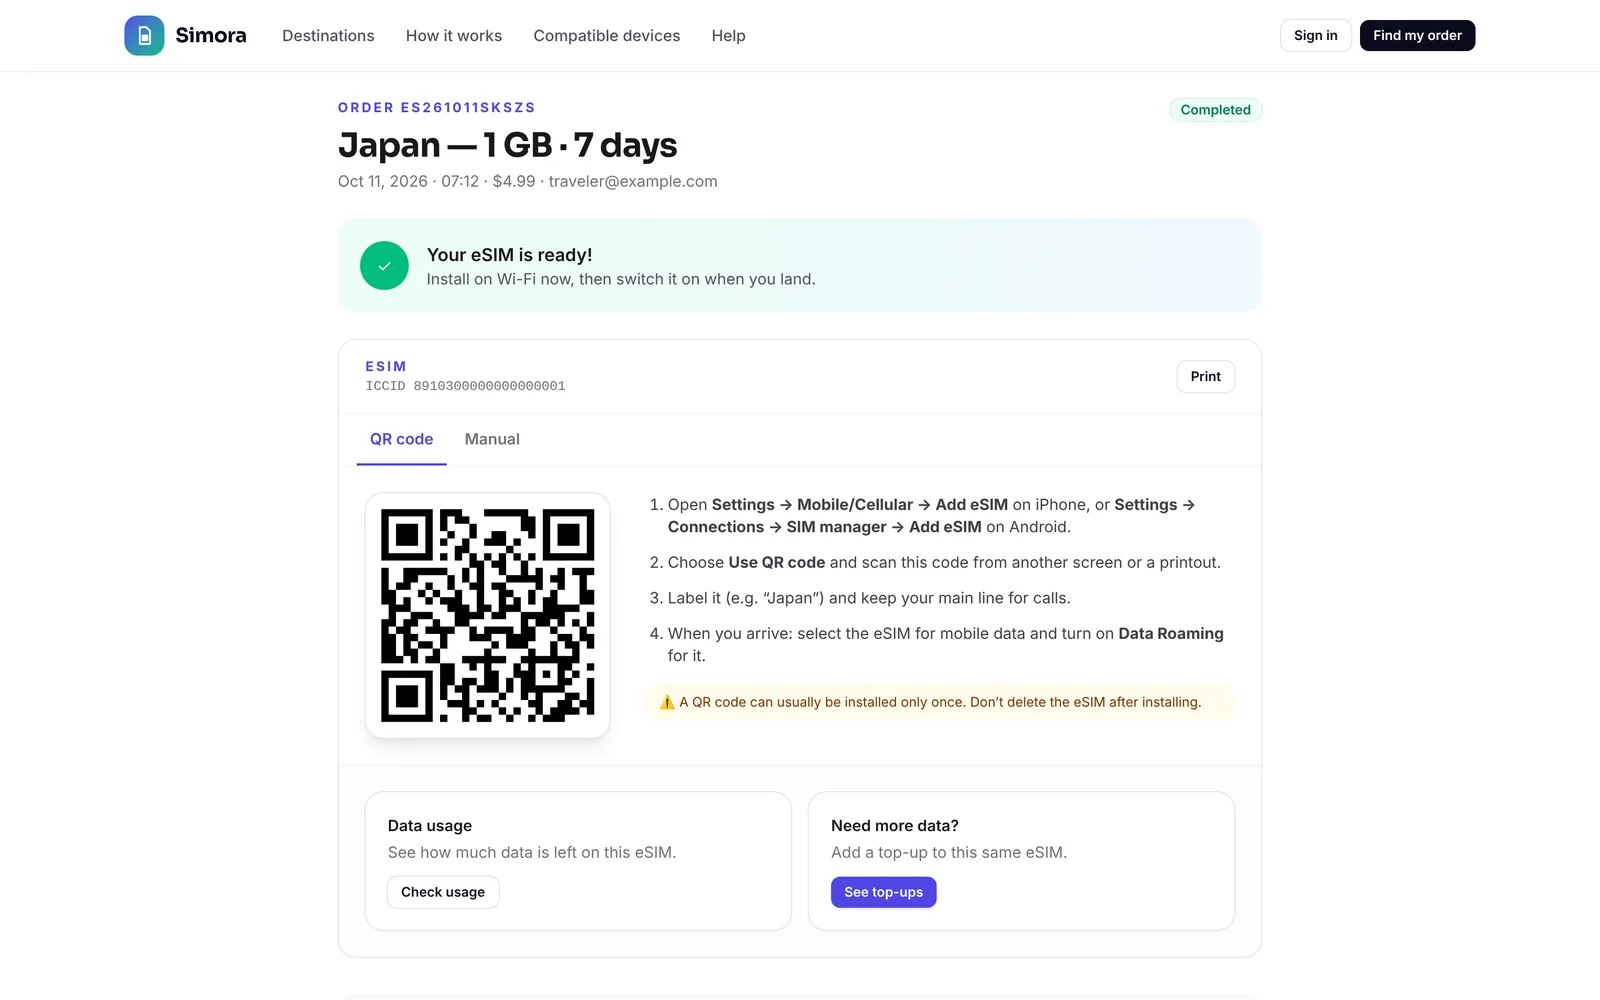
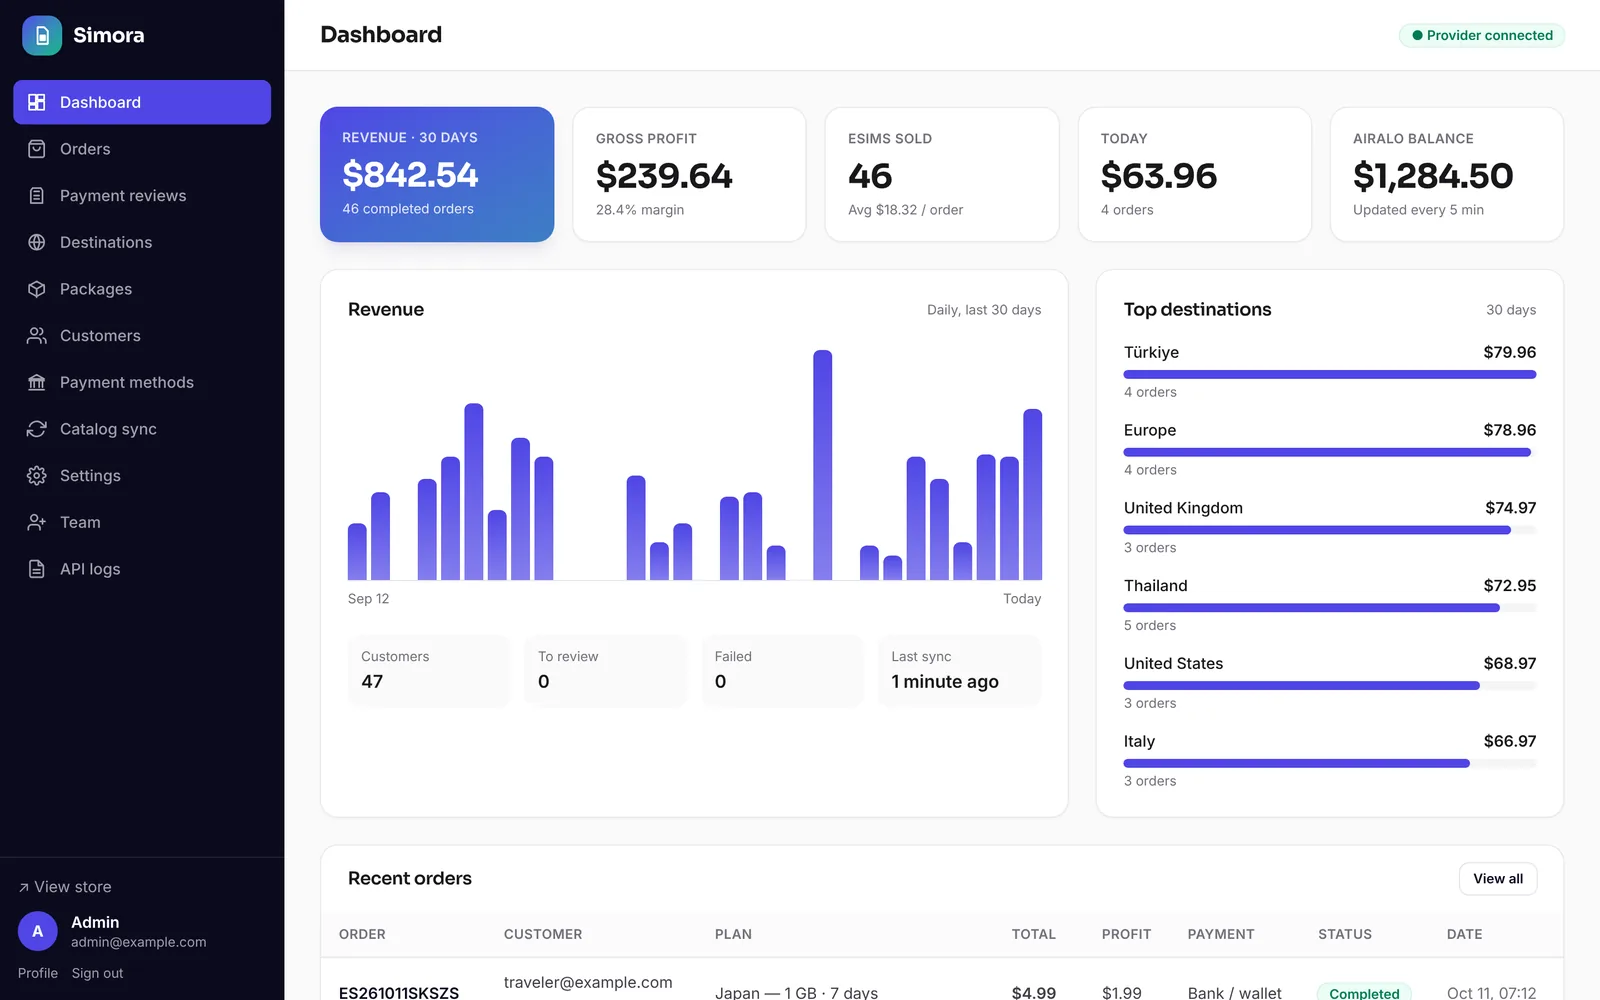
What your store looks like after installation. Click a screenshot to see it full size.

Overview
Simora is a complete online store for selling prepaid travel eSIMs. It is built with Laravel 12 and gets its destinations, data plans and eSIMs from the Airalo Partner API. Customers pay by Stripe, PayPal or an offline payment (bank transfer or mobile wallet, with a receipt that you approve). After payment the eSIM is ordered from Airalo automatically and the customer gets a QR code, a one-tap iPhone install link and manual activation details.
What is in the download
The ZIP you download from your Envato account (Downloads → Simora → All files & documentation) contains:
simora/— the application. This is the folder you upload to your server. It already includes thevendor/folder and the compiled CSS/JS, so you do not need Composer, Node or npm.documentation/— an offline copy of this guide.licensing/— licences of the open-source parts (Laravel, Tailwind CSS, qrcode-generator, Inter and Sora fonts).
Features at a glance
- Storefront: destination search, Local / Regional / Global tabs, plan filters, guest or account checkout, order page with QR code, live data usage and top-ups, order tracking, device compatibility and help pages.
- Admin panel: dashboard, orders (retry, refund, mark paid, resend, notes, CSV export), offline payment reviews, payment methods, destinations & packages, customers, team members, API logs and settings.
- Pricing: markup (percent + fixed) or Airalo's recommended retail price, a minimum profit per plan and price rounding.
Server requirements
Simora runs on normal shared hosting (cPanel, Plesk, DirectAdmin), a VPS or a dedicated server.
- PHP 8.2 or newer (8.3 recommended)
- MySQL 5.7+ or MariaDB 10.3+
- PHP extensions: PDO, pdo_mysql, OpenSSL, Mbstring, cURL, Fileinfo, Tokenizer, XML/DOM, Ctype (these are enabled on almost every host)
- Apache with mod_rewrite (the
.htaccessfiles are included), LiteSpeed, or Nginx - An SSL certificate (HTTPS) — required by Stripe, PayPal and for logins. Free Let's Encrypt / AutoSSL is fine.
- A way to run a cron job every minute (cPanel "Cron Jobs", or an external cron service)
- About 60 MB of disk space for the files
The web installer checks all of these for you on its first screen.
Accounts you will need
- Airalo Partner account — apply at partners.airalo.com. You get a Client ID and Client Secret, first in Sandbox mode for testing.
- Stripe and/or PayPal Business account — optional. You can sell with offline payments only.
- An email (SMTP) account for order emails, e.g. from your hosting, Gmail/Google Workspace, Zoho, Brevo, Mailgun or Amazon SES.
Step 1 — Upload the files
Unzip the download on your computer first. Inside you will find the simora folder. Choose the option that matches your hosting.
Option A — cPanel, domain or subdomain pointed at public/ (recommended)
- In cPanel open File Manager and go to your home folder (one level above
public_html). - Compress the
simorafolder to a ZIP on your computer, upload it here and use Extract. You now have/home/USERNAME/simora/. - Open Domains (or Subdomains) and set the Document Root of your store domain to
simora/public. Example:shop.example.com→/home/USERNAME/simora/public. - Make sure SSL is active for that domain (SSL/TLS Status → Run AutoSSL).
This keeps the application code, .env and the database credentials outside the public web folder — the safest setup.
Option B — shared hosting where the document root cannot be changed
If your domain must use public_html, upload the contents of the simora folder (not the folder itself) into public_html, including the hidden files .htaccess and .env.example. The root .htaccess sends every request to public/ and blocks access to .env, storage/, vendor/ and the other private folders.
Show hidden files
In cPanel File Manager click Settings → Show Hidden Files (dotfiles), otherwise .htaccess is easy to miss.
Option C — VPS with Nginx
Upload the folder to e.g. /var/www/simora, give the web server user write access and point the site root at public:
Terminal
sudo chown -R www-data:www-data /var/www/simora
sudo chmod -R 775 /var/www/simora/storage /var/www/simora/bootstrap/cache
/etc/nginx/sites-available/simora
server {
    listen 80;
    server_name shop.example.com;
    root /var/www/simora/public;
    index index.php;
    client_max_body_size 10M;

    location / {
        try_files $uri $uri/ /index.php?$query_string;
    }
    location ~ \.php$ {
        include snippets/fastcgi-php.conf;
        fastcgi_pass unix:/run/php/php8.3-fpm.sock;
    }
    location ~ /\.(?!well-known) { deny all; }
}
Then enable HTTPS, for example with sudo certbot --nginx -d shop.example.com.
Folder permissions
The web server must be able to write to storage/, bootstrap/cache/, public/uploads/ and the .env file. On cPanel the defaults (folders 755, files 644) normally work. If the installer reports a folder as not writable, set it to 775.
On the first visit Simora creates .env from .env.example with a fresh secret key. If your host does not allow that, copy .env.example to .env yourself and reload the page.
Step 2 — Create a database
In cPanel open MySQL® Database Wizard:
- Create a database, e.g.
USERNAME_simora. - Create a database user with a strong password.
- Give that user ALL PRIVILEGES on the database.
Write down the database name, user name and password — the installer asks for them. The host is usually localhost and the port 3306.
On a VPS (MySQL console)
CREATE DATABASE simora CHARACTER SET utf8mb4 COLLATE utf8mb4_unicode_ci;
CREATE USER 'simora'@'localhost' IDENTIFIED BY 'a-strong-password';
GRANT ALL PRIVILEGES ON simora.* TO 'simora'@'localhost';
FLUSH PRIVILEGES;
Step 3 — Run the web installer
Open your store address in the browser (e.g. https://shop.example.com). You are taken to /install automatically.
- Requirements — every line should be green. Fix anything red (PHP version, an extension or a folder permission) and reload.
- Database — enter host, port, database name, user and password. The installer tests the connection and creates all tables.
- Store & admin — enter your store name, the currency, and your admin name, email and password (at least 8 characters).
When it finishes you are logged in to the admin panel at /admin. The installer then locks itself (it returns "404 Not Found" from now on), so nobody else can run it again.
Open the store at its final address
The installer saves the address you used as APP_URL in .env. Install using the real domain with https:// — not a temporary URL or IP address. If you move domains later, update APP_URL in .env.
Step 4 — Add the cron job
One cron job keeps the store running: it syncs the Airalo catalog every hour, finishes paid orders that got stuck (for example after a timeout) and removes old API logs.
In cPanel open Cron Jobs, choose Once Per Minute (* * * * *) and use this command (change the path to your folder):
Command
cd /home/USERNAME/simora && php artisan schedule:run >> /dev/null 2>&1If your host has several PHP versions, use the full path of PHP 8.2+, for example /usr/local/bin/php or /opt/cpanel/ea-php83/root/usr/bin/php. On a VPS add the line with crontab -e (as the web server user):
crontab
* * * * * cd /var/www/simora && php artisan schedule:run >> /dev/null 2>&1No command-line cron?
Go to Admin → Catalog sync. It shows a secret URL like https://shop.example.com/cron/xxxxxxxx. Ask a free external service (for example cron-job.org) to open that URL every minute, or at least every hour.
The Catalog sync page shows the time of the last sync. If it says "Over 3 hours ago — check your cron job", the cron job is not running.
Step 5 — Connect Airalo
- Sign in to the Airalo Partners platform and copy your Client ID and Client Secret from the API section.
- In Simora open Admin → Settings → eSIM provider and paste them.
- Leave API base URL as
https://partners-api.airalo.com/v2unless Airalo gives you a different one. - Choose the instructions language for the installation steps customers see.
- Click Save, then Test connection.
Sandbox vs. live: Airalo uses the same API address for both — which mode you are in depends on your Airalo account and credentials. Test the whole buying flow while your account is in Sandbox mode, then ask Airalo to switch it to Production (or paste your production credentials) before you take real orders. A real order uses your Airalo balance, so keep it topped up.
Optional settings
- White-label brand name — only if you created a brand in your Airalo dashboard. It must match exactly, otherwise orders fail. Leave it empty if unsure.
- Also send Airalo's white-label eSIM email — Airalo emails the eSIM to the customer as well. Useful if you have not set up your own email yet.
Step 6 — Sync the catalog & set prices
- Open Admin → Settings → Pricing and choose your currency and how prices are calculated. A live preview shows example prices.
- Open Admin → Catalog sync and click Sync now. Destinations and packages are imported from Airalo (this can take a minute).
- Check Admin → Destinations and Admin → Packages. Hide anything you don't want to sell, or set a custom price for a single package.
How prices are calculated
- Markup mode: Airalo cost + markup % + fixed amount.
- RRP mode: Airalo's recommended retail price.
- The price is never lower than cost + minimum profit, and is then rounded (to .99, .49, a whole number, or not rounded).
- A custom price on a package always wins.
Changed the currency?
Run the catalog sync again so all prices are loaded in the new currency.
Step 7 — Set up payments
All payment settings are in Admin → Settings → Payments. Turn on at least one method. Each gateway has a test button (Test Stripe keys, Test PayPal credentials) that checks your keys.
Stripe
- In the Stripe Dashboard open Developers → API keys and copy the Publishable key (
pk_…) and Secret key (sk_…). - Open Developers → Webhooks → Add endpoint. Endpoint URL:
https://shop.example.com/webhooks/stripe(the exact URL is shown in Simora under the field). Select the eventcheckout.session.completed. - Copy the endpoint's Signing secret (
whsec_…) into Webhook signing secret. - Turn on Stripe, click Save, then Test Stripe keys.
Test with Stripe's test-mode keys and the card 4242 4242 4242 4242 (any future date, any CVC). For real payments switch to your live keys and create a separate live webhook — test and live webhooks have different signing secrets.
PayPal
- Sign in at developer.paypal.com → Apps & Credentials → Create App (type Merchant).
- Copy the Client ID and Secret into Simora.
- Set Mode to Sandbox for testing (use a sandbox buyer account), and to Live with the Live app's credentials for real payments.
PayPal needs no webhook — Simora confirms the payment with PayPal when the customer returns to the store.
Offline payments (bank transfer / mobile wallet)
- Open Admin → Payment methods and add one or more methods with your account details and instructions (for example "Use your order number as the payment reference").
- In Settings → Payments turn on Bank / wallet transfer (offline) and set how many hours your team needs to review a payment (shown to the customer).
The customer pays, then submits the sender name, transaction reference, amount, date and a screenshot or PDF of the receipt. You review it in Admin → Payment reviews:
- Approve & issue eSIM — the eSIM is ordered from Airalo and delivered automatically.
- Reject — enter a reason; the customer is told and can submit again.
Receipts are stored privately and can only be opened by admins.
Step 8 — Email settings
Simora emails the eSIM to the customer when an order is completed, tells customers when an offline payment is rejected, and alerts admins about new payments to review and failed orders.
- Open Admin → Settings → Email and turn on Send store emails (and, if you like, admin notifications).
- Enter the From address and name, and your SMTP details: host, port, user name, password and encryption.
- Click Save, then Send test email to me.
| Provider | Host | Port / encryption |
|---|---|---|
| cPanel hosting email | mail.yourdomain.com | 465 / SSL |
| Gmail / Google Workspace (app password) | smtp.gmail.com | 587 / TLS |
| Zoho Mail | smtp.zoho.com | 465 / SSL |
| Brevo | smtp-relay.brevo.com | 587 / TLS |
Use a From address on your own domain and add the SPF/DKIM records your email provider gives you, so emails don't land in spam.
Step 9 — Branding, pages & team
- Settings → General: store name, tagline, support email, logo, favicon, brand and accent colours, homepage headline, footer text, guest checkout and the maximum eSIMs per order.
- Settings → Pages & SEO: your Terms, Privacy and Refund policies (please replace the placeholder text with your own), the meta description, and a box for extra code in
<head>such as Google Analytics. - Admin → Team: add more admin users for your staff.
Going-live checklist
- The store opens on https:// with a valid certificate.
APP_DEBUG=falseandAPP_ENV=productionin.env(these are the defaults).- The cron job runs — Catalog sync shows a recent "Last sync".
- Your Airalo account is in Production and has enough balance.
- Stripe uses live keys and a live webhook; PayPal mode is Live.
- The test email arrives and isn't in spam.
- Your policies, logo and support email are filled in.
- You placed one real low-cost order from start to finish (pay → eSIM QR code → email).
Updating to a new version
- Back up your database (cPanel → phpMyAdmin → Export) and your
simorafolder. - Download the new version from your Envato Downloads page.
- Upload the new files over the old ones. Keep your
.envfile, thestorage/folder andpublic/uploads/(your logo and settings live there and in the database). - Run the database updates and clear the caches (cPanel → Terminal, or SSH):
Terminal
cd /home/USERNAME/simora
php artisan migrate --force
php artisan optimize:clear
Read the changelog that comes with each update for any extra steps.
Troubleshooting
"500 Server Error" or a blank page
Open the newest log file in storage/logs/ (laravel-YYYY-MM-DD.log) — the last lines tell you what went wrong. Most often it is a folder permission (make storage/ and bootstrap/cache/ writable) or a PHP version below 8.2. For a short time you can set APP_DEBUG=true in .env to see the error on screen — set it back to false afterwards.
I see a list of files, or the Laravel folders, instead of the store
The domain is not pointing at public/, or the root .htaccess is missing. Check Step 1.
The homepage works but every other page gives 404
URL rewriting is off. On Apache, make sure mod_rewrite is on and AllowOverride All is set; on Nginx, add the try_files line from Step 1.
No destinations or packages in the store
Run Catalog sync and look at the result message. If it fails, use Test connection in Settings → eSIM provider and check Admin → API logs for Airalo's reply.
The customer paid but the order is not completed
Open the order in Admin. If it says the Airalo order failed (for example, not enough balance), fix the cause and click Retry fulfilment. Paid orders that never started are retried by the cron job within a few minutes. For Stripe, check that the webhook URL and signing secret are correct — Stripe → Webhooks shows every delivery attempt.
Emails do not arrive
Use Send test email to me in Settings → Email and read the error. Check the SMTP port/encryption pair, use an app password for Gmail, and check the spam folder.
I need to run the installer again
Delete storage/app/installed, set APP_INSTALLED=false in .env, and open /install. Use an empty database for a clean start.
Support
Item support covers help with installation, bugs and questions about the features described here. It does not cover customisation or problems caused by your hosting.
Before you contact us, check the Troubleshooting section and the log file. Then send us your Envato purchase code, your store URL, what you did, and a screenshot or the error lines from the log — through the item's support tab on Envato or our contact page.